Every time I come back to crewing on big boats I’m always feeling like I have to re-familiarize myself with the electronics and some of the basic operations we use all of the time. I think that’s true of many others and so here is is a quick video reference on how to use the instruments with the functions we normally use. Here is a playlist of the videos or the can be viewed individually below.

They cover:

Setting a Starting Line on the B&G H5000

Starting the mast instrument timer on the Garmin GNX120

Starting the Race Timer on the B&G Triton 2

Setting a Route and Track on the B&G Zeus 9

Marking a Man Overboard

Basic ICOM IC 424G Radio Operation

Cartopping with a Diesel Jetta Wagen

Over the years I’ve had a wide variety of methods for transporting Lasers around.  Everything from 2x4s on the roof of a van to aluminum trailers specifically built to lasers to a giant van the laser went inside of. I’m back to cartopping a Laser and my new vehicle is a 2019 Volkswagen Atlas SUV.  Back when I had a 2012 Volkswagen Jetta SportWagen – I learned what worked pretty well for cartopping and here’s what I’ve recreated for the Volkswagen Atlas.

Volkswagen Atlas with ILCA atop

Thule Bars, end Caps

Thule roof bars with pads

These hold the boat – I like to get bars longer than the boat is wide to make it easy to tie the boat down and leave room for the spars out the side. The 78″ ones are more than enough and I could likely cut them down if I wanted a little less likely of catching something. 78″ is exactly the width of the Atlas from the edges of each side view mirror. The end caps don’t do much other than make it cleaner. Good quality pads are needed to protect the boat. I’ve got 2 20″ Dorsal pads on each bar. Thule makes 18″ ones and there are a variety of alternatives. These also have the effect of cutting down on wind noise when a boat is not present.

What I have on the Atlas:

It seems that since I originally set this up in 2019 that Thule is no longer selling the longer version of the Load Bars (LB78 or LB65). Look for alternatives of an appropriate length.

Thule Feet

Thule rack feet shown without lock cylinders
Thule rack feet shown without lock cylinders – not a tight fit and worries me they won’t hold on the road.

These will be a bit more specific to the vehicle. For both of my vehicles that had a roof rack that ran fore/aft these universal feet were able to grip around them. Note they also must match the roof bars, so if you get different bars, be sure to get the feet that match. These feet have a rubber coated metal strap that goes underneath the bar to secure it. The end cap has a built-in allen wrench used for tightening them. The end caps themselves seem a little loose without the lock cylinders so a set of those is necessary and to ensure the rack doesn’t disappear. Tip: if you think you would use other Thule products, buy extra lock cylinders so they are identically keyed or visit a vendor in the future who will sell matching cylinders. (If buying the paddle holders – go for the 8 or 10 pack so everything keys the same)

Paddle Holders

These paddle holders are great for transporting spars – they are big enough to go around 3 spars at a time – lower, upper and boom. With the Jetta when I traveled with the Radial lower I just put it in the car. With the Atlas I wanted the ability to travel with the Radial lower and a spare upper, so that’s why I have the extra wide bars and got two sets of Paddle Holders. Note in the picture the inner set are backwards, I ended up having to turn these around so the tightening strap pulls away from the vehicle in both sets. The lock cylinders can also be put on these – the paddle holders will hold the spars securely without locking, the locks just prevent anything from disappearing.

ILCA Spars in the or and paddle carrier

Spars can be transported without a cover just fine – they just get a little buggy on long trips. I prefer to use the spar bag to keep them clean and make it easier to load and unload 1 thing instead of 3. Be sure to tuck in the extra material and handles to keep things from flapping.

ILCA spars inside a spar bag on the Thule rack

Straps

There’s two ways I like to tie the boat down – two straps over the hull where the roof bars are. These are made rather tight and do 100% of the work of keeping the boat on the car. The forward one should be forward of the max beam of the boat so if the boat does slide forward, the strap is smaller than the beam and the boat can’t slide through it. These straps have rubber to protect the boat and easily cinch the strap tight. The loose end of the strap gets tucked into the cover on the underside.

The other straps I use attach to the bow eye and the rudder gudgeons. These are not intended to be super tight and do very little to keep the boat on the car. They are really just there for emergency use in case another strap fails or the rack itself fails – this will keep the boat with the car – and limit damage to the boat, car or anyone else. I don’t like making this tight so that it doesn’t ‘bend’ the boat over the car nor put a lot of stress on the bow eye or gudgeons for long periods of time while the boat is racked. Thule makes a set of quick ties that use a ratchet system with some hooks to easily attach and tighten them. It comes with some webbing straps – I attach these to the boat before putting the covers on and slip them out the holes in the cover before putting the boat on the roof so they can be easily hooked to.

Tips:

  • Thule and other sell Aero bars – but these are sold to a width matching the roof bars and cannot extend much beyond that – making them less suitable for the Laser with the spars on the side. They would work boat only. And it’s not possible to just buy a wider bar than compatible for the vehicle, they won’t fit – I tried.
  • Thule LoadBar is different than the SquareBar and the LoadBar appears to be a product they are starting to do away with.
  • Put the spars on the driver side so when making a quick stop to check things, it doesn’t require walking all the way around the car.
  • Yakima has a line of roof bars that are also widely used.
Atlas with the Laser and a bike rack

Bike Rack

Another accessory I’ve gotten quite a bit of use out of is a bike rack. Great for taking a bike along when rigging or camping just a little away from the clubhouse and a great way to get around when parking is tight.

MORE PICTURES

In Spring of 2020 we took a socially distanced trip to Deltaville to take the Snipe out for a day of practice and to get out on the water for the first time that year. We rigged the boat and sailed some reaches back and forth in front of the club in the 8-10 knot north wind for about 20 minutes. With everything going well we decided to sail downwind out into the river and into the stronger winds further south. Downwind was fine, but just a minute after turning to go upwind with the boat fully powered up we heard a bang and the shrouds all went slack. The mast stayed vertical, but it had fallen through the mast step and was sitting on the bottom hull of the boat 4″ lower than it was supposed to be. We hobbled back to the club and took the boat home for repairs.

Old Mast Step
Empty hole where the mast step once was

The boat is a 1986 Phoenix Snipe and had a wood mast step. It had likely been cracked for some time as the boat took on some water in the parking lot when rainwater would run down the mast. It wouldn’t get water in it when we were sailing or when it was stored covered with the mast down. So began some research to figure out how best to repair the step and make the boat sailable again. On the advice of a snipe-sailing friend I posted a note in the Snipe Sailing Facebook Group asking for suggestions. I knew rebuilding the structure that was there was going to be hard and was hoping someone had some experience with this. Marcus Ward suggested rather than repairing what was there, to just put a fiberglass plate over the hole with a new mast step and shortening the mast.

We started by getting a Selden mast step. The existing mast base was just a little too wide to fit in it so we needed to grind down the sides a bit to make it fit.

Mast Step
Mast base ground down to fit in the new step

Next a 12×12″x1/4″ G10 fiberglass board was acquired and we used cardboard and later a piece of wood to make a template of the fiberglass board that we were going to cut for it.

Mast Step Template
Showing the cardboard template, wood template and G10 fiberglass board

To cut the G10 fiberglass plate we got a saw blade, used for cutting tile, to use on the table saw.

Cutting G10
Using the tile-cutting blade to cut the G10 Fiberglass plate

To mount the plate in the boat we used West G/Flex Expoxy 655. The floor of the boat it was mounted to wasn’t flat and so this product has some filler and would bridge the gap and create a solid bond. Then screws were used to mount the mast step into the board.

Installed Mast Step

With the mast step in place, I needed to cut the mast down as far as I could so it would be the same height as it was. The challenge was the jib halyard block at the bottom of the mast. We would need to make the mast base fit around the block if we were going to shorten the mast as much as we could. The mast base was milled and ground down to fit the mast.

Mast Plug

The next step was actually cutting down the mast. I used a 200-tooth aluminum and plastic blade on a miter saw to get a clean and square cut on the mast.

Cut down Mast

The final step was mounting the vang blocks to the plate near the base of the mast and then actually re-rigging everything that had been taken apart.

Rigged

With the mast being .75″ taller than it was, I’m sure it needs to be re-measured and adjusted. The mast collar had to be adjusted just a bit so it hit the boat in the right spot. We’re just happy to be able to sail it and to extend the life of the boat a little bit longer.

Mast Collar

Huge thanks to Marcus Ward for the idea, Stan Deutsch for the help and tools, and Frank Hoos for milling the mast base.

MORE PICTURES

Parts:

Jess and I had wanted to grow some vegetables at home and with the Coronavirus induced time we’d be spending at home we quickly made a plan to build a hinged hoop house raised garden bed. In years past we knew there were a number of squirrels and other animals in our backyard and wanted to give whatever we planted the best chance of success by protecting it. To make this easy we designed a hooped lid on a hinge with chicken wire on it.

We started by excavating the area and using a level to be sure it was flat ground we were starting with.

We built a raised garden bed that was ~18″ tall using 3 1×6 and using 2×4 to make the corners. We affixed some plastic fencing to the bottom to try and prevent anything from burrowing up into the garden bed (we have plenty of moles in our yard). As we were putting in – I had some second thoughts on both the plastic fence and the size of the holes in it and we put down some left over very narrow wire fencing, but didn’t have enough for the entire bottom. If I did it again I would have just gone with the narrow metal fencing over the entire bottom.

Tipped it into place and filled in around it and added some garden soil. Initially we just put a few inches in, but know as we do more composting we’ll start to add more and bring the level of the soil up.

For the hoop frame we used 2×4 to create a frame the same size as the bed. We cut some angle pieces in the corners to give it some more strength and put 1 beam down the middle of it.

Using a tomato cage we might like to put in the garden, we figured out how high we wanted to make the hoops. To affix the hoops to the frame we drilled holes in the plastic and just put 2 screws straight through the pipe into the frame on each side.

Next we put the chicken wire across the hoops. I used cable ties to connect it, but these will degrade in a couple years and I really need to re-affix it with wire to make it more permanent. Note we still hadn’t added the hinges which made it easy to move the frame onto some saw horses to easily get underneath it to affix the chicken wire.

With the completed hoop sitting on the garden bed, we added 3 fence hinges to one side to make it open. Then we added some eye hooks inside the frame and inside the garden and tied a rope to them to keep the frame from opening too far, but ensured it opens far enough that the weight of it holds it open and there’s no risk of it blowing closed while we are working in it.

Materials:

  • 1×6 boards for raised bed
  • 2×4 for bed corners and hoop frame
  • 1/2″ pvc pipe for hoops
  • wood screws to hold everything together
  • narrow wire fence under the raised bed (optional)
  • chicken wire for the hoop cage
  • wire to tie the chicken wire together and to the hoops (or cable ties as a temporary solution)
  • 3 fence door hinges
  • 1 handle
  • 4 eye hooks and rope to hold it open

MORE PICTURES

Late last year I came by a Snipe and began getting it back into sailing shape this year.  One element to getting it sailing was to get a road-worthy trailer under it.  After trading some cash and an old AppleTV I got a used Laser 2 trailer that would fit the snipe nicely.  I replaced some of the hardware, addeda jack and new wiring and lights. The hardest part would be building the bunks and what made it harder was the fact that I’d have to do it while the boat stayed upside down in my backyard.

We made a pattern for the bottom of the hull by using a jig to draw a line on the board that matched the shape of the hull.  See the device here.

The shape fit the hull perfectly and just needed to be mounted to the trailer.

And the boat finally upright on the trailer:

More pictures of the trailer build starting here.

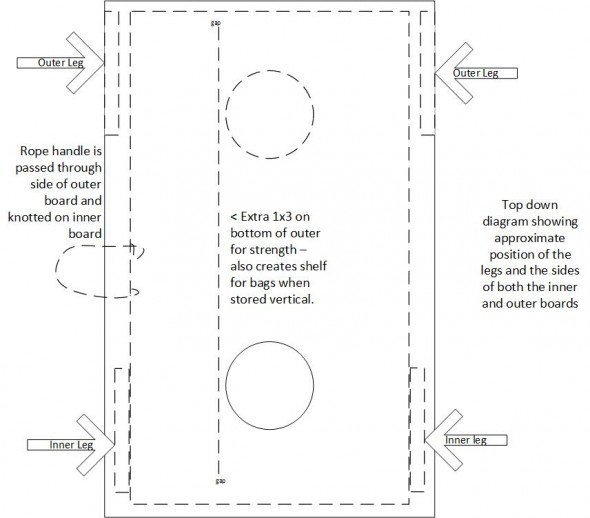
Last summer/fall some Laurie, Jess and I started a project to build 4 sets of nested 1/2 weight corn hole boards.  We were inspired by a cornhole board set we had seen recently and came up with a design that would take up less space and not weigh as much as a standard set built with 3/4″ plywood and 2x4s.

Using 1/2″ plywood and some 1×3 pieces of wood we built a set that contained 1 inner and 1 outer board that would nest together with a handle to carry them.  The cornhole bags could then be stored in between the boards.  The playing surface of the boards is the standard 24″x48″

The ‘outer’ board has the 1×3 border going all the way around the outside.  On one side, a wide hole is cut in the middle of the 1×3 to pass a rope handle through.  This hole weakens the board a bit, so we added another strip of 1×3 just inside the bag hole to provide some more strength seen below in the middle and  right boards.

The inner board has the 1×3 offset inside the edge so that it can fit inside of the outer board.  The top and bottom of the board have the 1×3 offset by just 3/4″.  The sides of the board have the 1×3 offset with enough space for the legs of the boards to fit in between.  When the boards are nested the holes & legs should be at opposite ends.  That way there is just enough space for 1 width of legs between the inner and outer boards when nested.

Corn Hole Board Nested diagram

Beyond the actual construction of the boards we had a lot of fun painting them with our own designs.

On top of the paint – we use a clear glossy polyurethane to give it a nice finish and protect it.

MORE PICTURES

Other resources:

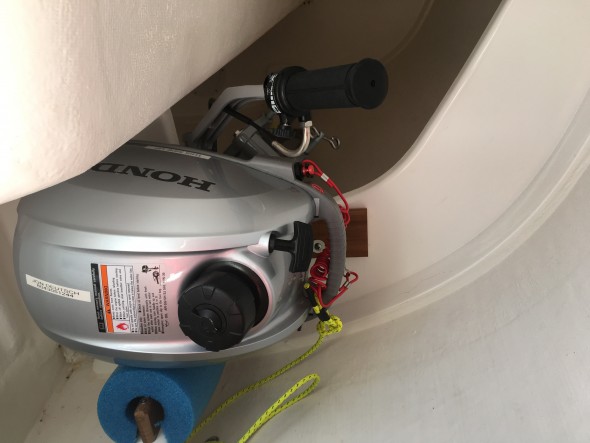
J/70 Engine in place
Engine in place

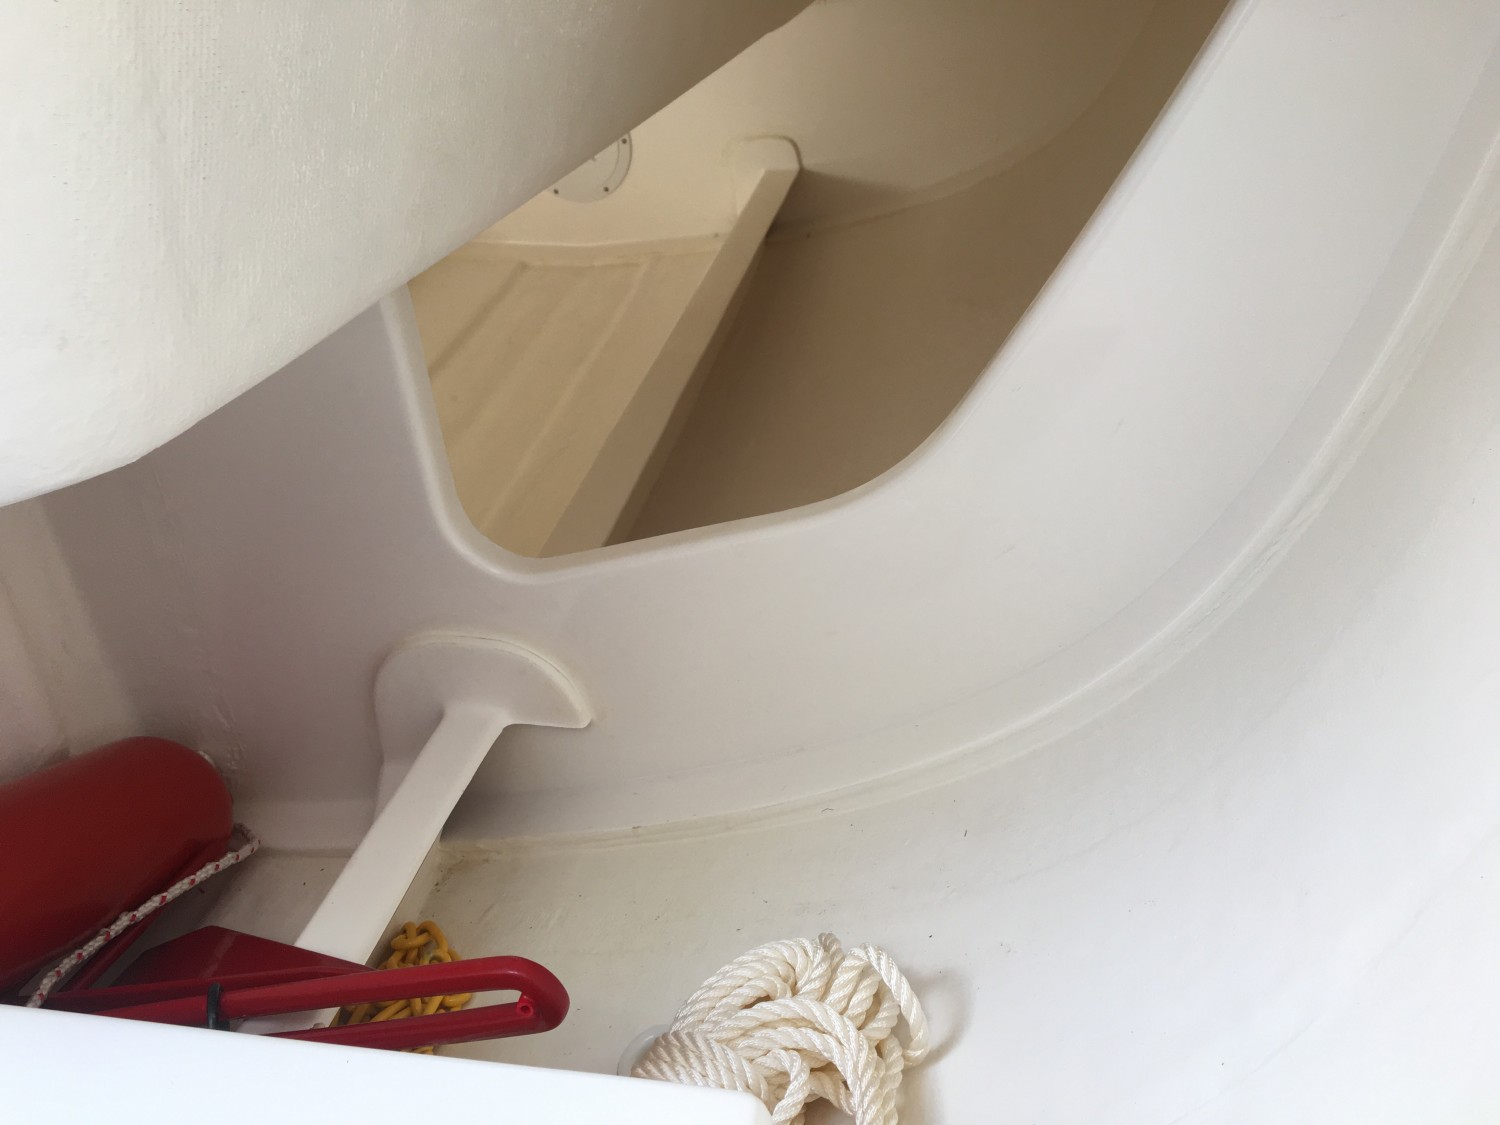
While I had the J/70 back in Richmond a few improvements were made including mid-boat storage cradle for the engine.  This puts the engine low next to the keel underneath the cockpit and not taking up valuable space up front nor adding weight to the front of the boat.

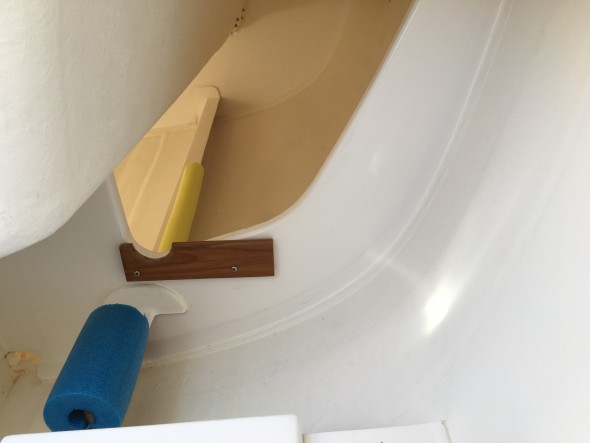
J/70 engine bracket in place.
Without engine

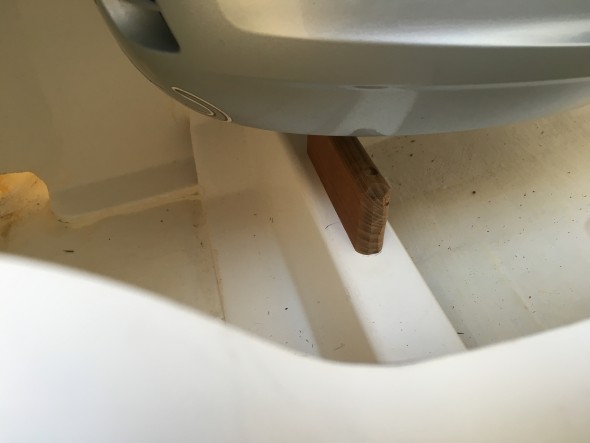
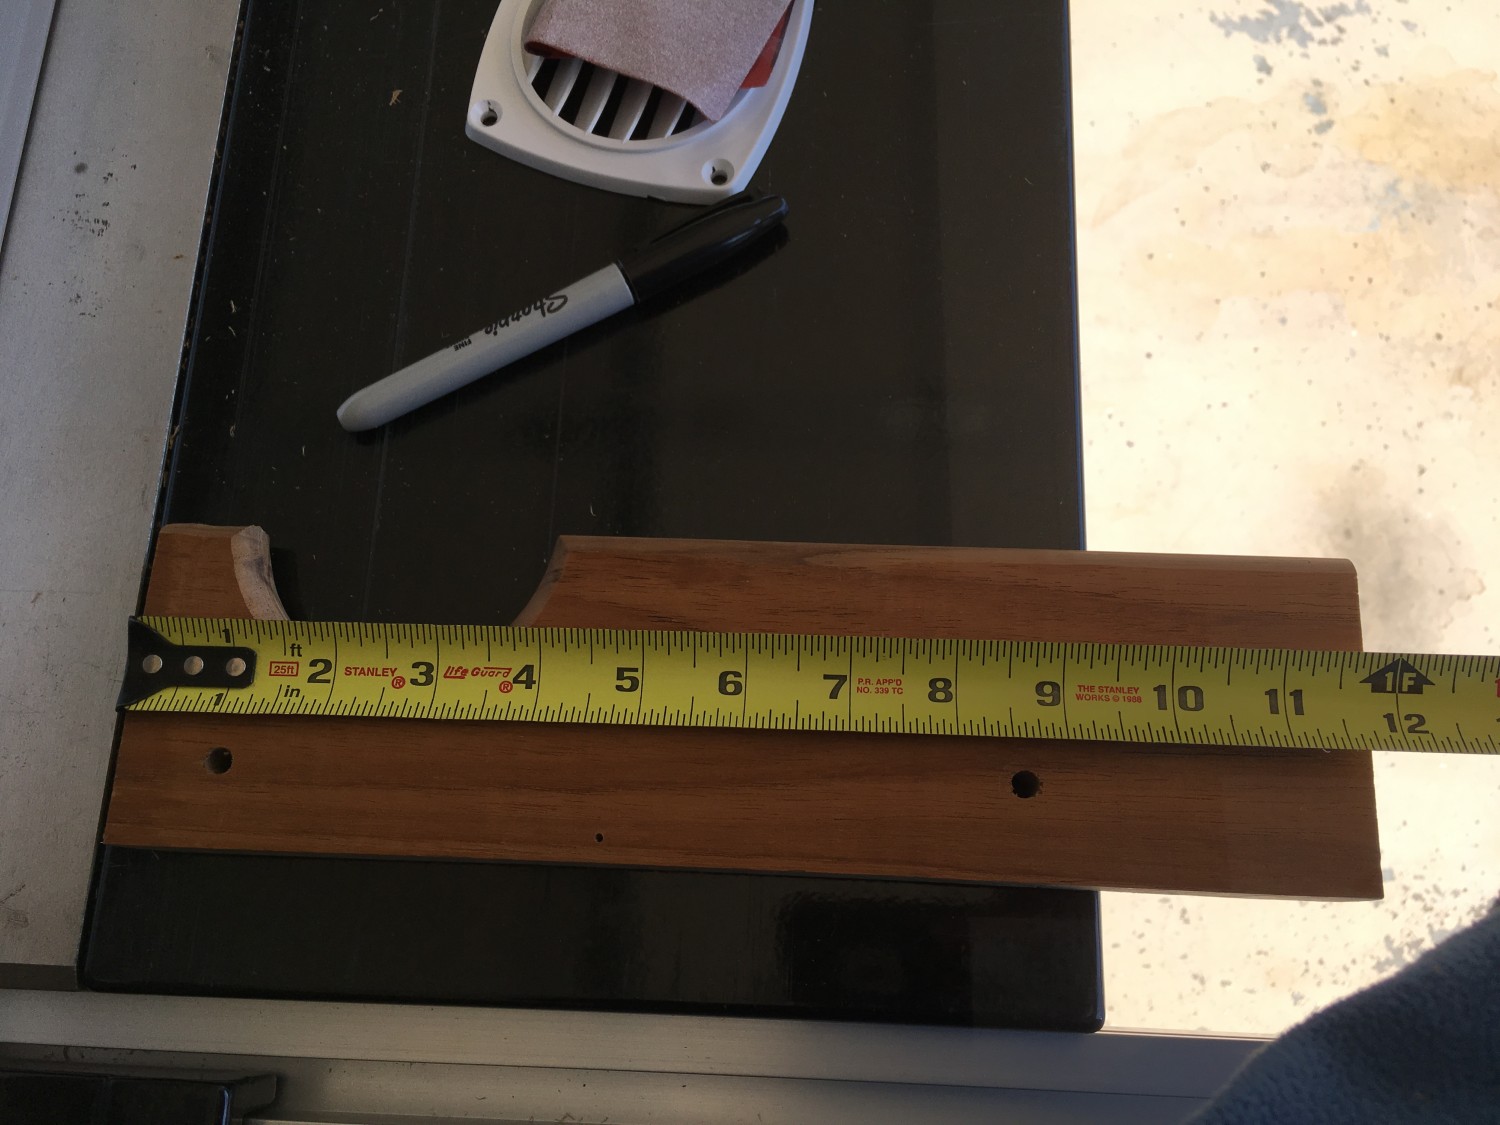
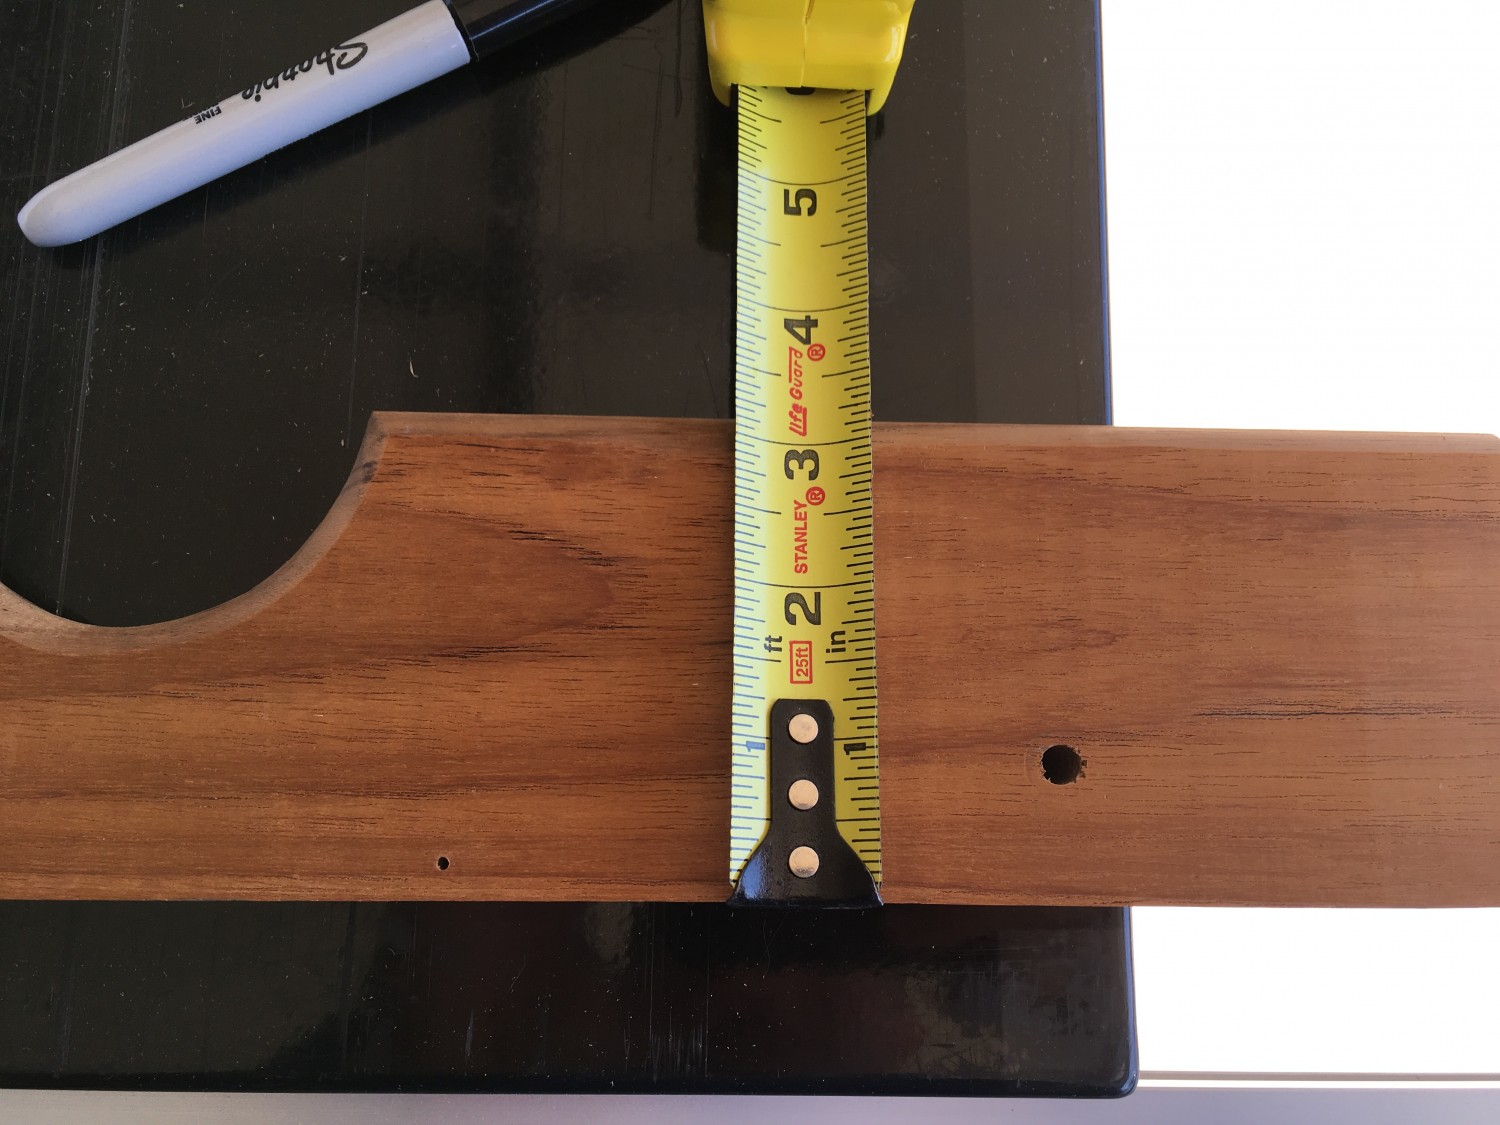
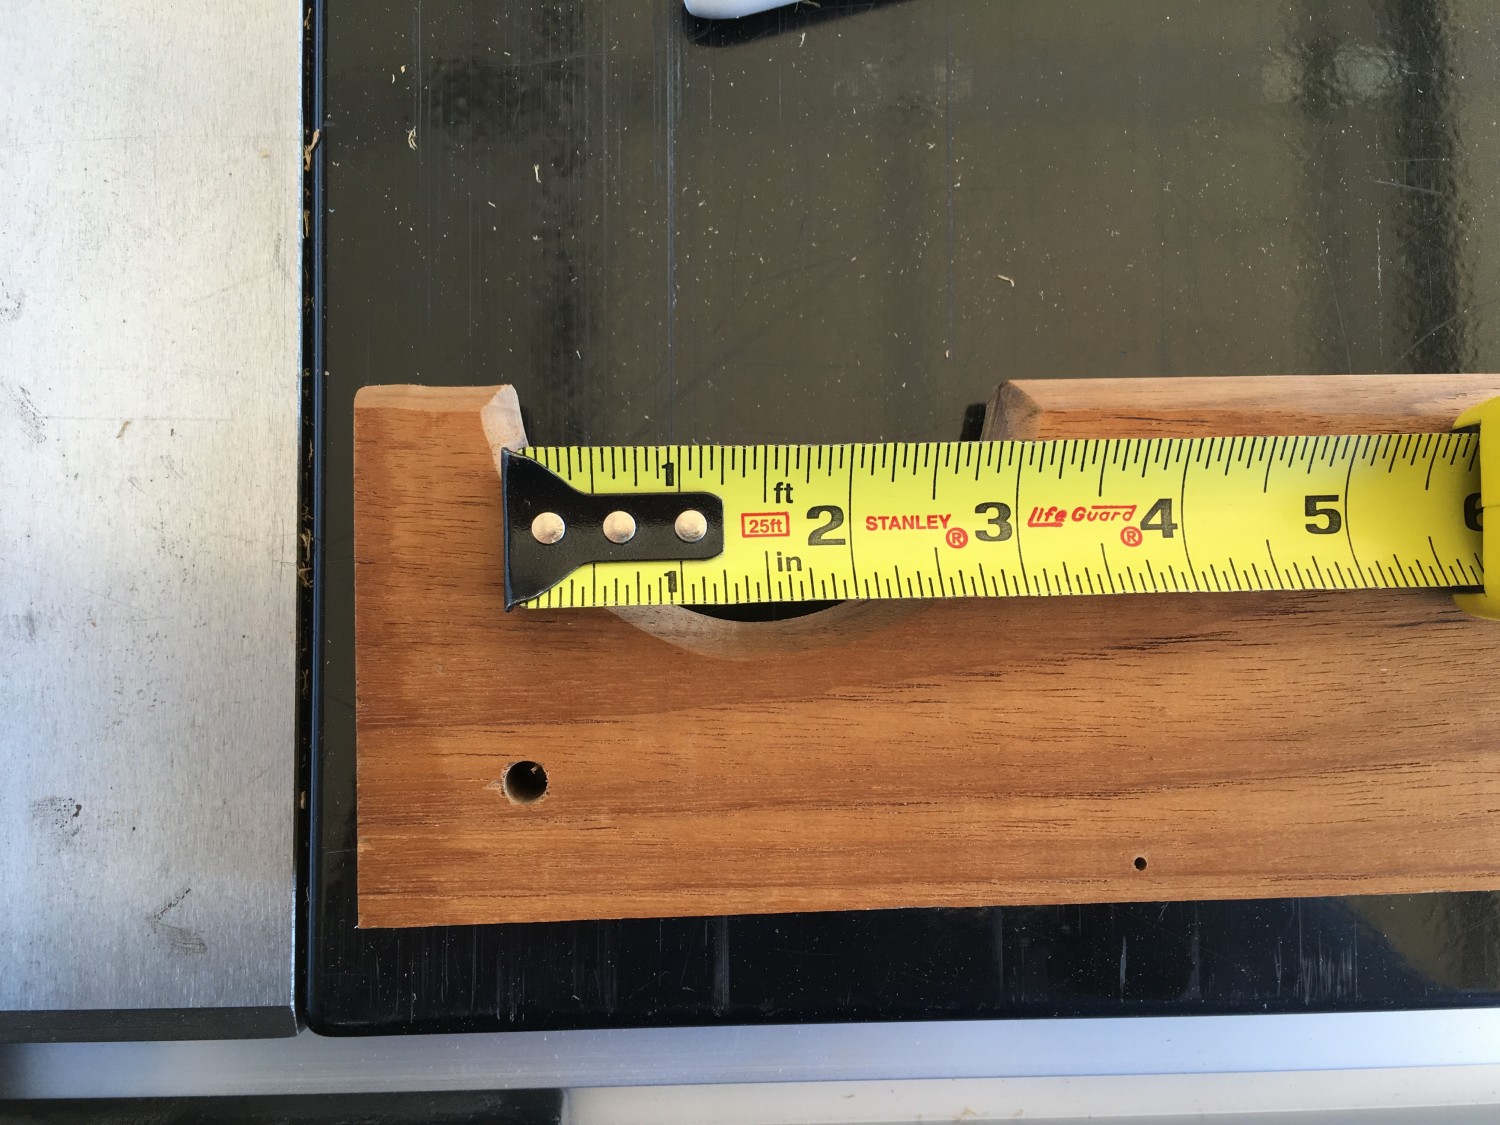
Using a piece of teak from a retired trophy – I build a bracket that mounts to a bulkhead under the companionway.  It has a notch cut for the engine to hold it just below the power head.  And the way it is set up and angled it’s easy to slide the engine towards the center of the boat to get it into place.

Wood above the stringer proping up the top of the engine

Beneath the power head of the engine is another block of wood mounted to a stringer with some foam padding added to it.  This tips the head of the engine upright and keeps oil from getting into the parts of the engine that it shouldn’t.

Having used it a few times now seems to work well and I like the space we got back in the bow for storing

Completed Dock Box ventilation

I had seen this idea when I sailed the J/70 Winter Series last year and finally had a chance to add it.  In short I cut a hole in the aft end of both dock boxes on the trailer and added a screen with a vent cover over it.  This allows a little more air flow into the dock box in case any wetness ends up in there.  The vents are on the back of the trailer so no rainwater gets in when trailering in wet conditions.

Parts:

Tools

  • 2″ hole cutter

Photos:

This video describes how to remove sail numbers from a Laser Sail.  Note that this technique only works with Goo Off Professional*

  1. Apply goo remover to the back side of the sail.
  2. Work it in to separate the goo from the sail
  3. Flip the sail back over and peel off the number
  4. Apply goo remover where the number was just removed from to clean up the area

Tips:
Use a soft cloth like an old tshirt for rubbing the goo on the sail.

The reason we first apply goo remover to the backside of the sail is to separate the goo from the sail so that the goo comes off on the number.  If you start by applying goo remover over the number, it separates the vinyl number from the goo, then you’ve got to scrub the sail a lot harder to rub the left over stick goo on the sail.

*I’ve used Goo Off Professional for years for this and it worked fine.  Only after I ran out of it and bought Goo Off Heavy Duty did I realize it didn’t work with all solvents.  It works with Acetone, but that stuff evaporates so quickly you can only do small sections at a time.

I’ve got a Netgear (JGS516) gigabit switch in a closet just off my kitchen near the family room.  Even with the door closed the fan noise it audible even above the refrigerator that is just a few feet away.  Quite distracting when trying to watch a movie or have a quiet meal in the kitchen.  So I did a little project to reduce the noise.

The switch uses a 5v 40mm x 40mm  x 20mm fan.  Unfortunately, it doesn’t seem as if quiet 5v fans are made this size, so I ended up getting a 12v fan of this size Scythe Mini Kaze 2, Quiet 40mm Fan, 3500RPM, Single Pack.  To get a 12v power source I pulled apart a cell phone charger, fed the wire through the vent opening and spliced it together.

With the fan running full speed, it still wasn’t quiet enough, so I got a Manual 12V DC Variable Speed Controller 4 pin Molex to Dual 3 pin Connector so I could turn it down.  With the fan on the lowest setting the sound is barely audible in the closet let alone with the door closed and there’s just enough air flow to be sure the barely loaded 16 port switch doesn’t get too hot.  And finally, I can very easily pull the mod out and return it to it’s original configuration.

Before:

Netgear

After with the speed controller in the back right corner:

Netgear After
Speed Controller
Netgear Speed Controller
Vent Wiring
Netgear Vent Wiring